

12 PNG to PDF Mistakes That Ruin Quality (and Fixes)
Avoid white transparency, blurry text, oversized files and incorrect page order when converting PNG images to PDF. Fix 12 common mistakes.
Why PNG-to-PDF Conversion Has Its Own Failure Points
PNG is a strong format for screenshots, diagrams, interface mockups, charts, logos and illustrations with sharp edges. It uses lossless compression, supports several color types and can include an alpha channel for transparency. Those strengths are useful, but they also create expectations that a PDF conversion may not meet automatically.
A PNG is an image with a pixel grid. A PDF is a page-oriented document container. Converting one to the other requires decisions about the page background, page dimensions, orientation, scale and ordering. The conversion may be technically successful while the result is visually wrong for the intended use.
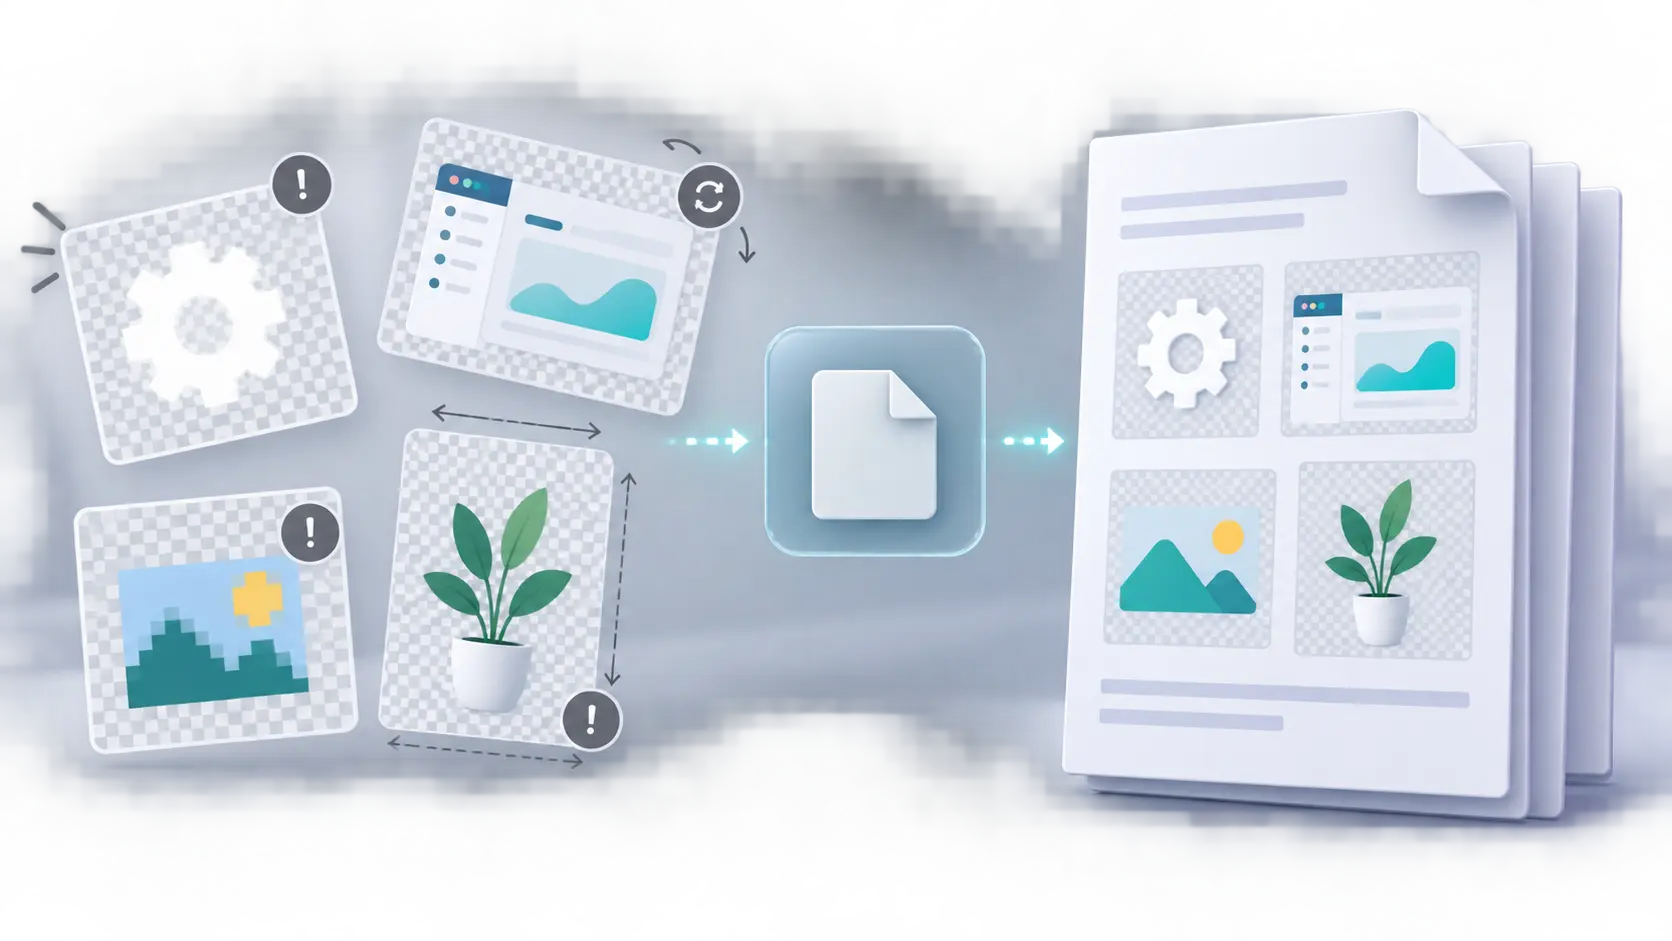
The Mr.Gena PNG to PDF Converter combines multiple PNG images into one PDF and lets you choose the page size and orientation. It also converts transparent areas to a clean white background. Understanding those behaviors before uploading helps you prepare images that will remain clear, correctly framed and easy to share.
The following twelve mistakes are organized as problem-and-solution pairs. You can use them as a troubleshooting guide after a poor conversion or as a preflight checklist before creating the PDF.
1. Mistake: Using PNG When the Original Document Still Exists
A PNG screenshot of a report, slide, résumé or web page may look like the original, but it has already flattened text, vector shapes, hyperlinks and document structure into pixels. Converting that PNG to PDF does not restore the lost information. It simply places the pixel image on a PDF page.
The better move: Export directly from the original application when the editable source is available. Use PNG-to-PDF conversion when PNG really is the best or only source—for example, a set of screenshots, scanned diagrams, exported artwork or interface mockups.
Before turning a text-heavy design into an image, run the source copy through the Mr.Gena Grammar Checker. A spelling mistake inside a flattened PNG cannot be corrected in the finished PDF without editing and exporting the image again.
If you are assembling selected design work, our guide to building an online portfolio explains how to choose evidence rather than filling a presentation with every available image. The same principle applies here: a carefully selected set produces a stronger PDF than a large folder converted without editing.
2. Mistake: Expecting Transparency to Behave Like a PDF Page
A transparent PNG does not contain a magical invisible sheet. It contains pixel color information plus transparency data. The W3C’s PNG Specification, Third Edition explains that PNG can store an optional alpha channel and that alpha values can represent fully transparent, fully opaque or partially transparent pixels.
A PDF page, however, still needs a visible canvas when it is viewed or printed. Different conversion and viewing workflows may flatten transparent pixels against white, display them against the viewer’s page color or handle complex edges differently. Mr.Gena’s converter explicitly turns transparent areas into a white background.
The better move: Decide on the final page background before converting. If the intended result is a white document, the converter’s behavior is appropriate. If the artwork must sit over a colored or textured background, composite the PNG onto that exact background in an image or design editor first. Then export a finished, opaque PNG for the PDF.
3. Mistake: Ignoring How the Artwork Looks on White
Designers often preview transparent PNGs on a dark checkerboard or colored application canvas. White icons, pale shadows, light-gray labels and soft glows may appear clear there but nearly disappear once the transparent area becomes white in the PDF. A logo with white lettering can look like an empty page.
The better move: Place every transparent PNG over a plain white layer before conversion and inspect its edges, text and contrast. If important details disappear, add an intentional background, border or darker color. Do not wait for the PDF to reveal the problem.
The Mr.Gena Random Color Generator can provide quick background candidates when you are testing contrast. If a single flat color feels too harsh, use the Mr.Gena Color Mixer to create controlled intermediate tones between a brand color and white. The purpose is not to decorate every page; it is to give transparent artwork a predictable surface.
Keep the final background consistent across the image set. One logo on white, another on gray and a third on transparent checkerboard imagery will make the resulting PDF look assembled from unrelated sources.
4. Mistake: Converting Photographs to PNG First
PNG is lossless, but lossless does not automatically mean better for every subject. Photographs contain continuous tones, texture and noise. Saving a camera photo as PNG can create a much larger file without adding detail that was absent from the original JPEG capture. Combining many such files can produce an unnecessarily heavy PDF.
The better move: Keep genuine screenshots, diagrams and crisp-edged graphics as PNG. Keep photographic originals as JPG unless a specific editing workflow requires another format. If your pages are camera photos or scanned receipts stored as JPEG, follow our previous guide on turning JPG images into one clean PDF instead of converting them to PNG first.
This prevents a wasteful JPG-to-PNG-to-PDF chain. Changing a JPEG into PNG does not reverse the JPEG compression already present; it only stores the existing pixels in a different file. Select the converter that matches the real source.
5. Mistake: Upscaling a Small PNG Before Conversion
A 600-pixel-wide screenshot cannot gain true detail merely because it is resized to 2400 pixels. Upscaling invents additional pixels from the existing grid. Depending on the interpolation method, text may become soft, edges may develop halos or individual pixels may become more obvious.
The better move: Re-export the image from its source at the required dimensions. For screenshots, capture the correct application area at a high native display resolution. For charts and diagrams, export from the design or data application rather than enlarging a small web preview.
If no higher-resolution source exists, keep the PNG near its natural size on the PDF page. A smaller but sharp image is usually more credible than a full-page image that exposes severe pixelation. Add a clear margin rather than stretching the asset to fill every edge.
| Source condition | Weak response | Better response |
|---|---|---|
| Small screenshot | Enlarge it by 300% | Capture or export it again at a larger native size |
| Low-resolution logo | Sharpen repeatedly | Request the original vector or high-resolution artwork |
| No larger source exists | Stretch it across the page | Use a smaller placement with intentional whitespace |
6. Mistake: Using Screen-Sized Images for Print
An image can look excellent inside a browser and still print poorly. Screens are viewed at a physical size determined by the device, while print places the pixel grid onto a fixed paper area. A narrow screenshot expanded across A4 or Letter paper may make fine type and interface elements visibly soft.
The better move: Work backward from the final use. For screen-only sharing, test at normal laptop and phone zoom. For printing, use larger source dimensions and print one representative page before producing a large batch. Check fine lines, small labels, QR codes and light-gray interface text.
Apple’s official guide to converting image file types with Preview shows that PNG and PDF are distinct export formats and that format-specific options can appear during conversion. Whatever platform you use, export settings cannot compensate for a source that was captured too small.
If a page includes a code linking to a web resource, create the code at a suitable size with the Mr.Gena QR Code Generator and test the printed result from the expected scanning distance. A QR code that works only when enlarged on your monitor is not ready for a printed PDF.
7. Mistake: Mixing Inconsistent Canvas Sizes
One PNG might be a wide 1920 × 1080 presentation slide, another a tall phone screenshot and another a tightly cropped square diagram. When each becomes a page, the content can appear to jump in size. Some images may have generous margins while others touch the edges.
The better move: Standardize the image canvases before conversion. Choose a shared aspect ratio or page template, place each asset within it and apply consistent margins. Do not crop meaningful content merely to force uniformity; add space around the smaller asset when necessary.
For a visual report, a repeatable template might include the same title area, image frame and caption location on every page. For raw screenshots, consistent padding and a neutral background may be enough. The objective is stable reading rhythm, not identical content.
If the images were collected from different sources, use the Mr.Gena Palette From Image tool to inspect their dominant colors. You do not need to recolor every asset, but recognizing major palette differences can help you choose a neutral page background that does not clash with the set.
8. Mistake: Choosing Page Orientation Without Checking the Content
Portrait is not automatically correct because the destination is called a “document,” and landscape is not automatically correct because the source is an image. A wide dashboard placed on a portrait page may become too small to read. A tall phone capture placed on a landscape page may sit inside excessive empty space.
The better move: Classify the set before conversion. If almost every image shares one orientation, select the matching page orientation. When the set is mixed, decide which content is most important and whether separate PDFs would be clearer.
Rotate the source only when it is genuinely sideways. Do not rotate a correctly oriented wide chart merely to make it fit portrait paper; readers should not need to turn their device to understand a page. Page orientation should support the content’s natural reading direction.
9. Mistake: Trusting Filenames or Upload Order Blindly
A collection can be correct in one folder view and incorrect after selection or upload. Names such as page-1.png, page-2.png and page-10.png may sort unexpectedly. The current Mr.Gena PNG-to-PDF interface supports multiple files, while its page notes that drag-to-reorder functionality is coming. That makes source preparation especially important.
The better move: Use zero-padded filenames such as 001-cover.png, 002-overview.png and 010-summary.png. Upload a small test set first and confirm how the tool handles the sequence. If the order is wrong and manual reordering is unavailable, return to the folder, correct the names or selection order and upload again.
After conversion, compare the PDF against a written page list. Inspect every transition, not only the first and last pages. Similar screenshots can hide a missing or duplicated step.
10. Mistake: Expecting Image Text to Become Searchable
A screenshot may contain words that look perfectly readable to a person, but those words are still pixels. Placing the PNG inside a PDF does not automatically create selectable text, headings, hyperlinks, reading order or accessibility tags.
The better move: Keep text as real text whenever you control the source document. If searchability or accessibility is required, use an OCR-capable process and verify the recognition result. OCR can misread small fonts, unusual layouts, low contrast and multiple languages, so it needs manual review.
Adobe’s official Create PDFs guide for Acrobat Reader lists PNG among the image types that can be converted to PDF. That confirms format support, but conversion support alone does not promise that text inside the bitmap will become structured document text.
For tutorials and reports, consider placing screenshots inside a document that also includes real headings, captions and descriptions. This produces a more useful result than converting a folder of unlabeled images.
11. Mistake: Ignoring Color and Gamma Differences
A PNG can store color-space and gamma information. Applications, browsers, PDF viewers, printers and operating systems may interpret or display that information differently. A subtle gray may look darker on another screen, and a saturated brand color may print less vividly than it appears on a bright monitor.
The better move: Test the final PDF in at least two normal viewers and, when print matters, make a proof. Avoid relying on extremely subtle color differences to communicate meaning. Charts should use labels, patterns or clear value separation in addition to hue.
For branded image sets, record the intended color values before conversion. If you must create supporting tones, use the Color Mixer rather than selecting nearly identical colors by eye. Then inspect the PDF as a finished document, because correct input values do not guarantee identical appearance on every unmanaged display.
12. Mistake: Compressing Before Reviewing the Master PDF
Large PNG sets can produce heavy PDFs, which makes compression tempting. But if you reduce quality before checking page order, scale and readability, you may create a small file that must be rebuilt anyway. Repeated compression can also make text and fine graphics progressively worse.
The better move: Create and keep one master PDF first. Review its page count, orientation, margins, backgrounds, color and fine detail. Only then create a smaller delivery copy if the email service or upload portal imposes a limit.
Compare the compressed copy with the master at the same zoom level. Inspect the smallest labels, thin diagram lines, QR codes and semi-transparent edges. Keep filenames explicit, for example project-boards-master.pdf and project-boards-web.pdf, so the smaller copy never replaces the best available version by accident.
PNG-to-PDF Decision Table
| Your source | Recommended move | Main risk to check |
|---|---|---|
| Interface screenshots | Keep as PNG and convert at native resolution | Small text and inconsistent canvas sizes |
| Transparent logos or illustrations | Preview or composite them on the final background | White, black or visually broken backgrounds |
| Camera photographs | Keep the original JPG workflow | Unnecessarily large PNG files |
| Text-heavy editable document | Export directly from the source application | Loss of selectable text and links |
| Mixed portrait and landscape images | Separate sets or select the dominant orientation | Tiny content and excessive margins |
| Print-ready charts or codes | Use high-resolution sources and make a proof | Blurred labels, lines or unscannable codes |
Final Checklist Before Downloading or Sharing
- PNG is the correct source format for the material.
- Transparent images have been previewed on white.
- White or pale artwork remains visible.
- No small image has been stretched unnecessarily.
- Print pages use adequate source dimensions.
- Canvas size and margins are consistent.
- Page orientation matches the dominant content.
- Filenames use an unambiguous numbered sequence.
- The downloaded PDF follows the correct page order.
- Searchable text is not assumed unless OCR was performed.
- Colors and fine details were checked in another viewer.
- The uncompressed master was saved before creating a smaller copy.
Frequently Asked Questions
Why does my transparent PNG have a white background in the PDF?
Mr.Gena’s PNG to PDF Converter converts transparent areas to white so the image sits on a clean PDF page. Preview transparent artwork on white before conversion and add your own background first when another color is required.
Does converting PNG to PDF reduce image quality?
The result depends on the source dimensions, scaling and later compression. Start with the correct native export, avoid enlarging small PNGs and inspect the completed PDF at normal and close zoom.
Should screenshots be PNG or JPG before PDF conversion?
PNG is generally a strong choice for screenshots because it preserves crisp edges without JPEG artifacts. Photographic images are often more size-efficient as JPG.
Can a PNG-to-PDF converter make screenshot text searchable?
Not by conversion alone. The visible words remain pixels unless a separate OCR process recognizes them or the PDF is created from a source containing real text.
Why is my PNG-based PDF so large?
The source images may have large pixel dimensions, photographic content or unused transparent canvas space. Remove unnecessary space, avoid converting photographs to PNG and create a compressed delivery copy only after preserving the master.
Can I combine several PNG images into one PDF?
Yes. The Mr.Gena tool accepts multiple PNG images and combines them into one PDF. Prepare the filenames and intended sequence before uploading, then verify every page after downloading.
A Successful Conversion Is More Than a PDF That Opens
The best PNG-to-PDF workflow respects what PNG does well: lossless storage for screenshots, diagrams, graphics and transparent artwork. It also recognizes what conversion cannot repair. A small image remains small, flattened text remains pixels and an undefined transparent background still requires a visible page treatment.
Prepare the source format deliberately, preview transparency on the actual background, standardize page canvases, protect native resolution and verify the order before delivery. Then use the free PNG to PDF Converter to assemble the images into a practical document. A final review in another viewer will catch far more problems than simply trusting the download notification.