

Convert JPG Images to One Clean PDF: 11-Step Guide
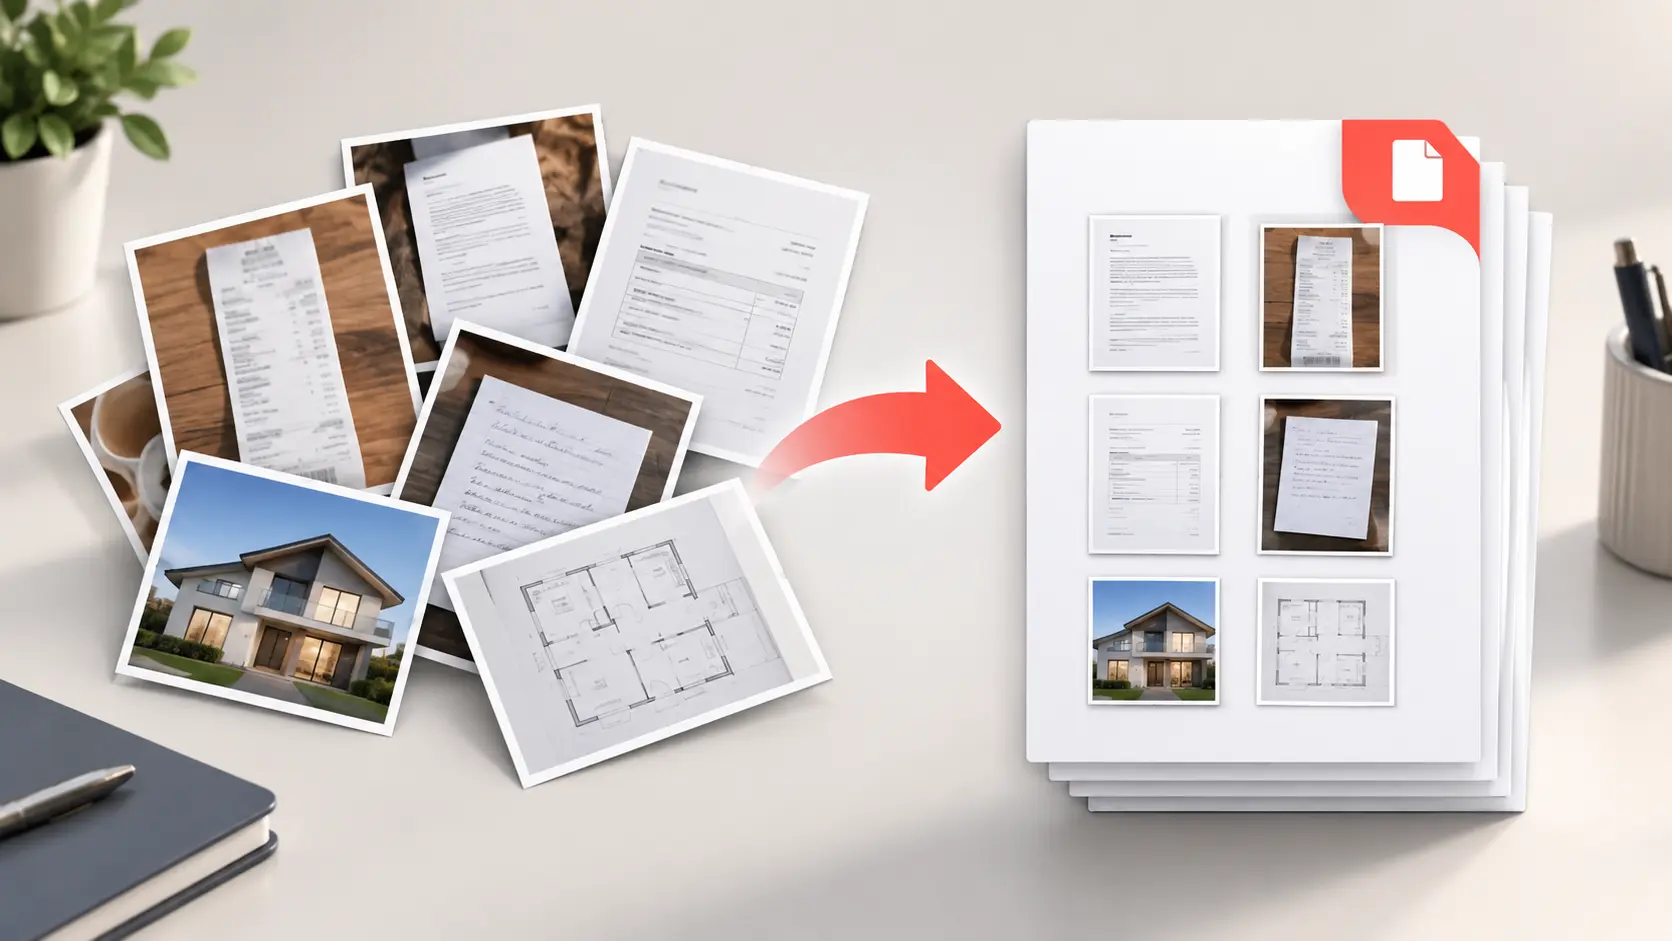
Turn document photos into one ordered, readable PDF. Fix rotation, page size, filenames, quality and file size with this practical JPG-to-PDF workflow.
Why “Put These Photos in a PDF” Is Really a Document-Design Task
The conversion itself is simple. The difficult part is deciding what the pages should communicate and then removing the small defects that make a finished PDF feel unreliable. A sideways invoice, a missing page, a dark shadow across a signature or a page numbered 10 that appears before page 2 can make an otherwise valid submission look careless. When the PDF is evidence for an expense claim, an application, a class assignment or a client handoff, those details matter.
The free Mr.Gena JPG to PDF Converter accepts multiple JPG or JPEG images, lets you drag them into the required order and gives you control over page size and orientation. Because the assembly step is fast, you can spend your attention where it has the greatest value: preparing a clean source set and checking the output.
This guide uses a preflight approach. In publishing, a preflight is the final check performed before a document is released. Here, the idea begins earlier: decide what the PDF must do, prepare the images around that objective, assemble them once and inspect the result as if you were the recipient. That discipline prevents most last-minute conversion problems.
1. Define the Finished PDF Before Touching the Images
Start with the destination, not the upload button. Write down who will receive the PDF, what it contains and how it will be used. A ten-page expense record sent to an accountant has different requirements from a visual portfolio, a photographed contract or a collection of family recipes. The recipient may specify a maximum file size, a page format, a naming convention or a deadline. Those requirements should shape every later choice.
Create a one-line output brief such as: “One portrait A4 PDF containing twelve receipts in date order, under 10 MB, readable on a laptop.” Another useful brief might be: “One landscape PDF containing six design boards, beginning with the cover and ending with contact details.” This sentence turns vague conversion into a testable result.
If the document is part of a job application, you can prepare the CV itself with the Mr.Gena Resume Builder, then keep the supporting image-based material in a separate PDF unless the employer asks for one combined file. Separating document types can make the packet easier to understand and replace later.
Write these four requirements down
- Required page order
- Portrait or landscape presentation
- Maximum file size, if one exists
- Exact filename and delivery destination
2. Audit Every Source Image
Do not assume that every photograph in the folder belongs in the document. Open the files one at a time and compare them with a page checklist. Look for accidental duplicates, missing pages, blurred text, cropped corners, fingers covering information, reflections on glossy paper and shadows across the page. A converter can package an image, but it cannot restore information that the camera never captured.
Zoom into the smallest meaningful text. For a receipt, that might be the date, tax amount or transaction number. For a contract, it may be a clause number, initial or signature. If you cannot read the detail comfortably before conversion, photograph or scan that page again. Do not rely on enlargement inside the PDF viewer; enlarging a blurry source only produces larger blur.
Check whether every page should be shared at all. Document photos can contain addresses, account numbers, identification details, faces, location data or unrelated objects in the background. Crop unnecessary surroundings and redact sensitive information using an appropriate editor before conversion. A PDF container does not make exposed information private.
3. Build a Clean Working Folder
Never assemble an important PDF directly from a crowded camera roll. Copy only the approved images into a dedicated working folder. Keep the originals elsewhere so you can return to them if a crop or edit goes wrong. This simple separation prevents screenshots, alternate takes and unrelated photos from entering the final document.
A useful folder can contain three groups: originals, ready and delivered. Originals are untouched captures. Ready contains the corrected images that will become PDF pages. Delivered contains the final file that was actually submitted. The structure is especially helpful when you must revise one page after the first delivery.
If you have a long list of filenames or document references to organize, the workflow in our earlier guide, From Messy Lists to A–Z, explains how whitespace, numbers, capitalization and duplicates can affect sorting. You do not need to alphabetize chronological pages, but you do need the same habit of cleaning the input before trusting the order.
4. Rename Files for an Unambiguous Page Order
Image order is one of the most common failure points in a multi-page PDF. Filenames such as 1.jpg, 2.jpg and 10.jpg may be sorted differently by different interfaces. Use zero-padded numbers: 001-cover.jpg, 002-receipt.jpg, 003-receipt.jpg and so on. The numbers preserve sequence, while the short labels help you recognize pages without opening every file.
For date-based records, use a year-month-day format followed by a sequence number, for example 2026-09-01-01-train.jpg. This keeps chronological order even when documents from several months are stored together. Avoid changing the pattern halfway through the batch.
Filename order is preparation, not a substitute for visual checking. Apple’s official guide to combining files into a PDF on Mac notes that the files appear in the order in which they are selected. Different tools expose ordering differently, so use filenames as a safety net and confirm the visible thumbnails before export.
| Weak filename | Clear filename | Why it is better |
|---|---|---|
IMG_7812.jpg |
001-cover.jpg |
The intended first page is obvious. |
receipt-final2.jpg |
006-2026-09-03-taxi.jpg |
The sequence and subject are both visible. |
page10.jpg |
010-page.jpg |
Zero padding supports predictable sorting. |
5. Correct Rotation, Perspective and Framing
Rotate each source image before conversion so that the top of the document is actually at the top of the image. Some phones store orientation as metadata rather than physically rotating the pixels, and not every workflow interprets that metadata in the same way. Saving the corrected version before upload reduces the chance of a sideways PDF page.
Next, crop the frame to the document boundaries while leaving a small, consistent margin. A receipt photographed at an angle can become a trapezoid; a page shot too far away may devote most of its pixels to the desk. If your phone’s scan mode can detect edges and correct perspective, use it before exporting the page as JPG. Keep the correction natural: aggressive sharpening and contrast can erase faint handwriting, stamps or pale lines.
Mixed orientation requires a decision. If most pages are portrait and one is landscape, you can either keep the landscape page as landscape or rotate it so the recipient turns the screen. The better choice depends on the content. A wide spreadsheet is usually more readable as a landscape page. A sideways receipt is usually an error. Consistency matters, but readability matters more.
6. Choose JPG or PNG Deliberately
JPG is well suited to photographs and camera captures because it can represent continuous tones efficiently. Its compression is lossy, which means repeated saving or overly aggressive quality reduction can introduce blocks and halos around small text. PNG is lossless and often better for screenshots, diagrams, interface captures and graphics with crisp edges, although it may produce larger files for photographic material.
Use the JPG workflow when your sources are phone photos, scanned receipts, photographed notebook pages or other JPEG images. If the batch consists of screenshots or exported diagrams, preserve those files as PNG and use the Mr.Gena PNG to PDF Converter. Avoid converting PNG to JPG merely to enter a JPG-only workflow; that extra conversion can add artifacts without improving the document.
The format choice at this stage is about source fidelity, not long-term archival compliance. The Library of Congress describes PDF/A-1 as a constrained form of PDF intended for long-term preservation. A standard image-to-PDF export should not be described as PDF/A unless it has actually been created and validated for that standard. Keep original images when the records may need to be preserved or reprocessed later.
7. Protect Legibility Before Reducing File Size
File size is important only after the information is readable. Begin with the cleanest practical source, then reduce weight in measured steps. Do not repeatedly open, edit and resave the same JPG. Each lossy save can degrade edges around letters, barcodes and fine rules. Make edits from the original and export one ready version.
Use a simple legibility test: view each image at approximately the size it will occupy on the PDF page and read the smallest required text. Then zoom in and look for compression artifacts. Check dark areas for lost detail and pale paper for washed-out writing. If the source includes a QR code that a recipient must scan, test the image with the Mr.Gena QR Code Reader before building the PDF. The code’s presence is not enough; it must still decode after cropping and compression.
Resolution numbers alone do not guarantee quality. A high-resolution photograph can still be unreadable because it is out of focus or shot under uneven light. Conversely, a carefully captured page can remain clear at a moderate resolution. Judge the information, not just the megapixel count.
8. Upload and Reorder the Thumbnails
Open the JPG to PDF Converter and add the images from the ready folder. Multiple files can be selected together. Once the thumbnails appear, compare the visible sequence with your page checklist rather than assuming the upload preserved the folder view.
Drag misplaced images into position. Verify the beginning and end first: cover, first content page, last content page and closing page. Then inspect every transition in the middle. Consecutive receipts can look similar, so use dates, totals or page numbers as checkpoints. If the same page appears twice, remove the duplicate before conversion.
This thumbnail review is the moment when a pile of images becomes a document. Page order carries meaning. A contract’s signature page belongs after its clauses; a tutorial’s result should not appear before the setup; an expense report should follow the promised date or category structure. Technical conversion cannot infer that narrative for you.
9. Choose Page Size and Orientation
Select a page size that matches the destination. A4 is common in many international document workflows, while Letter is common in the United States and Canada. If the recipient has specified a format, follow it. If no requirement exists, choose one size for the entire document so the viewer does not jump between inconsistent page dimensions.
Choose portrait for vertically photographed documents and landscape for wide visual material. Page orientation is not the same as rotating the source. Correct the image itself first; then choose the page that frames it appropriately. A rotated document placed on the wrong page orientation may still contain large empty areas or render smaller than necessary.
Margins can help a page feel intentional and prevent content from appearing pressed against the edge, but excessive margins make small text harder to read. For document evidence, the goal is not decorative whitespace. The goal is a stable page with all relevant edges visible and the content large enough to inspect.
| Source set | Likely setting | Final check |
|---|---|---|
| Receipts and letters | Portrait A4 or Letter | Small print remains readable. |
| Presentation boards | Landscape | Labels are not reduced too far. |
| Mixed phone photos | One consistent page size | No page is unintentionally sideways. |
10. Convert, Download and Inspect the PDF
Run the conversion and download the result. Do not send it immediately. Open the PDF in a normal viewer and perform two passes. In the first pass, review the document at thumbnail scale to confirm page count, sequence and orientation. In the second, inspect representative pages at reading scale: the first page, a dense page, the faintest scan and the final page.
Adobe’s official instructions for converting images to PDFs in Acrobat on mobile demonstrate the same basic relationship: the image is selected and becomes a PDF document. Regardless of the platform, output inspection remains your responsibility. A successful conversion message means the file was created; it does not prove that every page is correct.
Test the PDF on a second device or viewer when the document matters. Confirm that it opens, scrolls smoothly and renders the pages without missing images. Search for text only if the workflow included optical character recognition; a PDF made from photographs is generally image-based and should not be assumed to contain searchable or selectable text.
If you add a cover note or submission summary with a strict word limit, check it separately with the Mr.Gena Word Counter. Keep that text as actual text when possible. Turning every textual page into a photograph makes editing, searching and accessibility more difficult.
11. Compress, Name and Archive the Final File
Check the completed PDF’s size against the recipient’s limit. If it is too large for an application portal or email attachment, use the Mr.Gena Compress PDF tool and select a level that balances size with readability. After compression, repeat the legibility check. Focus on the smallest text, QR codes, signatures and pale details because they are usually the first elements to suffer.
Name the final file for the recipient rather than for your own temporary process. expense-report-2026-09.pdf is more useful than converted-final-new2.pdf. Include a name, project, document type or date only when it helps identify the file. Avoid sensitive personal information in filenames, especially when files may be forwarded or displayed in shared systems.
Save the delivered version alongside the source set and record where and when it was sent. Keep the original JPG images if the document has financial, legal, academic or archival importance. The PDF is an assembled delivery copy; the sources are your route to correcting or rebuilding it.
If the document includes visually styled headings or decorative Unicode text, review our earlier article on fancy text mistakes that hurt readability. A professional PDF should prioritize clear information over visual novelty, especially in filenames, dates, amounts and instructions.
A Fast Preflight Checklist Before You Send
- Every required page is present exactly once.
- The first and last pages are correct.
- Dates, page numbers and steps follow the intended order.
- No page is unintentionally sideways or upside down.
- Document edges, signatures and totals are not cropped.
- The smallest important text is readable at normal zoom.
- Sensitive background information has been removed or redacted.
- Page size and orientation suit the destination.
- The PDF opens on a second viewer or device.
- The file is under the upload or email limit.
- The filename clearly identifies the delivered document.
Common JPG-to-PDF Problems and Their Best Fixes
| Problem | Likely cause | Best correction |
|---|---|---|
| Pages appear in the wrong order | Inconsistent filenames or an unchecked upload sequence | Use zero-padded filenames and reorder the visible thumbnails. |
| One page is sideways | The source rotation was stored incorrectly or never corrected | Rotate and save the source image, then rebuild the PDF. |
| Text is difficult to read | Blur, poor lighting, distant capture or excessive compression | Return to the original, recapture if necessary and prioritize legibility. |
| The PDF is too large | Many high-resolution photographs | Compress the completed PDF and inspect the result before sending. |
| Screenshots look soft | Lossless PNG images were converted to JPG first | Keep screenshots as PNG and use the PNG-to-PDF workflow. |
| Text cannot be searched | The PDF contains page images without OCR | Use a separate OCR-capable workflow when searchable text is required. |
Frequently Asked Questions
Can I combine several JPG images into one PDF?
Yes. Add multiple JPG or JPEG files to the Mr.Gena JPG to PDF Converter, arrange the thumbnails in the intended order, choose the page settings and create one PDF. Inspect the downloaded document before sharing it.
Will converting JPG to PDF make blurry text clear?
No. Conversion changes the container, not the information captured by the camera. If important text is blurry in the source, rescan or photograph the page again before building the PDF.
Should receipt photos be JPG or PNG?
Camera photos are commonly JPG and can work well when they are sharp and evenly lit. Screenshots and diagrams with crisp edges are often better kept as PNG. Use the converter that matches the original format instead of adding an unnecessary conversion.
Why did page 10 appear before page 2?
Some sorting systems compare filenames as text. Zero-pad page numbers—001, 002, 003 through 010—to make the intended sequence clearer, then verify the thumbnail order manually.
Is an image-based PDF searchable?
Not automatically. A PDF created from photographs generally contains images of text. Searchable or selectable text requires optical character recognition or a source document that already contains real text.
Should I delete the JPG images after conversion?
Keep the originals when the material is important. They allow you to rebuild the document, replace one faulty page or create a different version without extracting images from the PDF.
The Clean PDF Is Built Before You Click Convert
A reliable PDF begins with a clear destination, complete source pages and an explicit order. The converter performs the packaging, but your preflight gives the file its structure and credibility. Audit the images, fix rotation and framing, preserve the right source format, arrange the thumbnails, choose consistent page settings and inspect the output from the recipient’s point of view.
When the source set is ready, open the free JPG to PDF Converter and turn it into one organized document. The extra minutes spent checking the result are far less expensive than explaining a missing receipt, replacing a sideways signature page or rebuilding a submission after the deadline.