

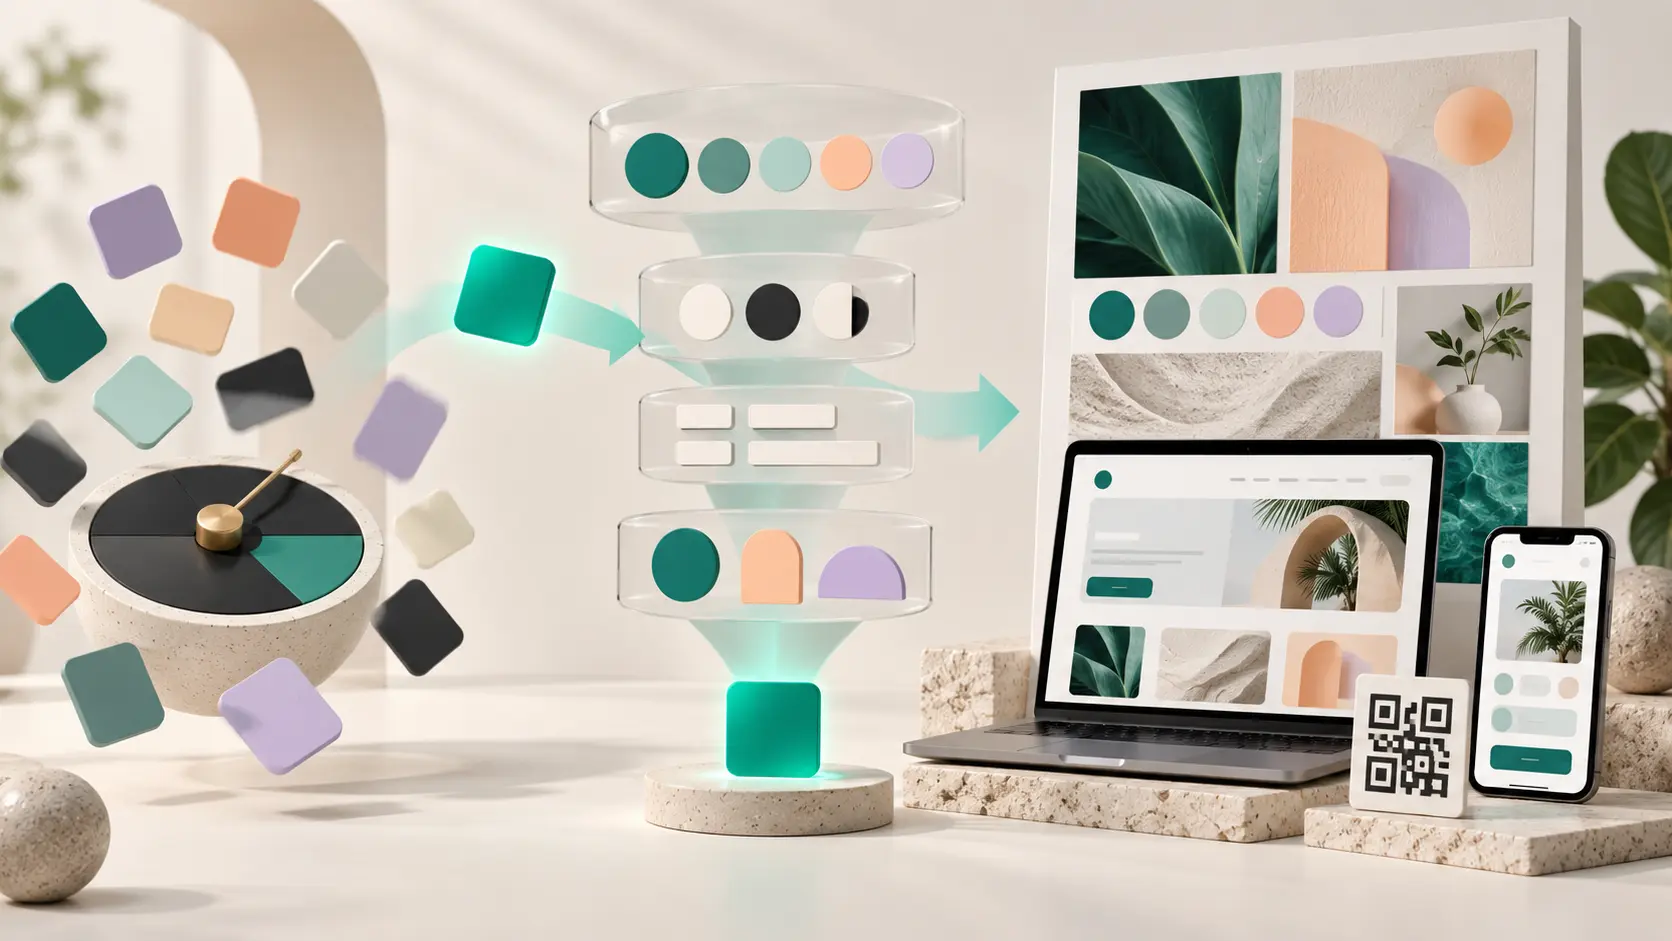
Turn a Random Color Into a Design Direction
Stuck using the same colors? Generate one at random, study its properties and turn it into a focused visual direction for web, brand and campaign work.
CREATIVE DESIGN WORKFLOW
Randomness can break a creative block, but it cannot make design decisions for you. This guide shows how to generate an unexpected color, examine its technical and visual qualities, connect it to a clear project idea and develop it into a design direction you can explain, test and use.
Why Random Color Generation Can Improve Creative Work
Designers often return to familiar colors. A person who likes blue may produce one blue interface after another. Someone who associates premium design with black and gold may apply that combination to projects that require warmth, playfulness or accessibility. Familiar choices feel safe, but they can also make different projects look increasingly similar.
A random color introduces a constraint you did not choose. That constraint forces you to investigate possibilities outside your normal preferences. You might receive a muted green when you expected a bright orange, or an unusual violet when your first instinct was to use navy. The result may reveal a direction you would never have searched for manually.
The free Mr.Gena Random Color Generator creates a new color instantly and displays its HEX, RGB and HSL values, contrast information and related tints and shades. This gives you both visual inspiration and the technical values required to begin testing.
The important word is “begin.” A randomly generated color is not a finished brand, interface or campaign. It becomes useful only after you connect it to an objective, assign it a role and test it in realistic conditions. The following workflow turns randomness into an intentional design process.
1. Write a One-Sentence Design Challenge
Do not generate a color until you know what you are designing. Without a challenge, you can judge a result only by whether you personally like it. A clear brief lets you judge whether the color can support a particular audience, message and action.
Write one sentence containing the project, audience and desired response. For example: “Create a landing page that helps independent photographers present their services as professional but approachable.” Another brief might be: “Design a campaign identity that encourages university students to join a local recycling program.”
Your sentence does not need to describe colors. It should describe the communication problem. This keeps you from forcing every generated result into a predetermined visual answer.
If the project is connected to a new commercial idea, our guide covering 12 decisions to make before launching an online business can help you clarify the audience, offer and customer journey before you begin designing its identity.
2. Generate Colors Without Endless Scrolling
Open the Random Color Generator and create several results. The danger is continuing until the tool displays the color you already wanted. That turns random exploration into disguised confirmation of your existing preference.
Establish a stopping rule before you start. You might decide to generate exactly five colors and develop the third result. Another method is to save six candidates and use the Random Number Generator to select a number from one to six.
Random selection does not mean you must publish an unusable result. It means you agree to investigate the selected color seriously before rejecting it. Spend at least fifteen minutes exploring its possibilities instead of immediately pressing the generate button again.
Capture the selected color and the generation number in your notes. This gives the exercise a clear beginning and prevents the project from becoming an endless collection of disconnected screenshots.
3. Record the Color in Usable Formats
A screenshot is not an adequate color record. Copy the generated HEX, RGB and HSL values into a working document. Each format describes the same displayed color differently and may be useful in a different part of the workflow.
| Format | What it describes | Practical use |
|---|---|---|
| HEX | Red, green and blue components written in hexadecimal notation | Compact color values in design files and CSS |
| RGB | Individual red, green and blue channel values | Digital design, screens and image applications |
| HSL | Hue, saturation and lightness | Understanding and adjusting a color’s visual qualities |
MDN’s
guide to CSS color values
explains how colors can be represented using hexadecimal notation,
rgb(), hsl() and newer color functions.
Record the original value without changing it. You will create supporting variations later, but the initial result should remain available as a reference point throughout the exercise.
4. Study Its Properties Instead of Its Name
Color names are inconsistent. One person’s “ocean blue” may be another person’s teal, turquoise or cyan. Instead of debating the name, examine the properties that affect how the color behaves.
Start with lightness. Does the color feel naturally suitable for a dark foreground, a pale background or a mid-tone accent? Then review saturation. A highly saturated result may create strong emphasis but become exhausting when used across a large area. A muted color may create a calm atmosphere but require stronger contrast around important actions.
Finally, consider temperature and surrounding relationships. Does the color lean warm or cool? How does it change beside pure white, warm gray, charcoal and black? A color never appears in isolation once it enters a real design.
| Property | Question to ask | Possible design consequence |
|---|---|---|
| Lightness | Is it visually light, middle or dark? | Influences text, background and contrast choices |
| Saturation | Is it vivid or restrained? | Influences emphasis and suitable coverage |
| Temperature | Does it feel warmer or cooler? | Influences supporting neutrals and imagery |
| Visual weight | How quickly does it attract attention? | Influences whether it can dominate or should accent |
5. Build a Mood Without Relying on Color Stereotypes
It is tempting to make universal claims such as “blue means trust,” “green means nature” or “purple means luxury.” These associations may sometimes be useful, but they are not fixed rules. Meaning changes with culture, context, industry, typography, imagery and surrounding colors.
Instead of assigning one emotion immediately, create two or three possible interpretations. A muted green could support natural skincare, financial stability or an educational application. A strong orange might communicate friendliness in one project, urgency in another and inexpensive energy in a third.
Write three adjectives for each possible interpretation. Then compare those adjectives with the original design challenge. Select the interpretation that creates the most useful relationship between the color and the project.
This method allows the same color to support different stories without pretending that it has one universal psychological meaning.
6. Create a Project Concept for the Color
If you are using the exercise for practice rather than a real client, give the color a fictional project. A project concept forces you to make decisions about audience, tone, layout and content instead of creating an attractive but unexplained mood board.
Use the Name Generator to create a name for a fictional application, café, clothing label, character, event or service. Then write a short description of what the project offers and who it serves.
Avoid selecting a name simply because it describes the color. Calling every green concept “Forest” or every blue concept “Ocean” limits the creative direction. The name should describe the project while the color contributes to its personality.
Your concept can remain simple: “Northline is a planning application for freelancers who need to organize client deadlines without complicated project-management software.” This is enough context to begin making intentional visual choices.
7. Translate the Color Into Visual Rules
A design direction contains more than a palette. Typography, spacing, shapes, icon style, photography and motion all affect how the selected color is interpreted.
Imagine a vivid yellow paired with sharp corners, compressed typography and high-contrast photography. It may feel energetic and disruptive. The same yellow combined with rounded cards, generous spacing and friendly illustrations could feel playful and accessible.
Create a small direction board containing one heading style, one body-text style, two button shapes, a sample card, an image reference and the selected color. Every decision should support the same three adjectives you chose in step five.
If the result may become a professional case study, review our guide on building an online portfolio that proves your value. A strong case study explains the challenge, constraints and reasoning behind the direction instead of showing only polished final screens.
8. Control How Much of the Color Appears
A color may work beautifully on a small button and become overwhelming when applied to an entire page. Decide how much visual space the random color should occupy before developing more screens.
The 60-30-10 concept can provide a starting exercise: approximately 60 percent for the dominant foundation, 30 percent for supporting areas and 10 percent for accents. It is not a universal law, and interface layouts rarely divide into perfect mathematical blocks. Its value is that it forces you to think about proportion.
Use the Percentage Calculator when preparing a presentation or estimating the distribution of large visual areas. More importantly, inspect where the viewer’s attention goes first.
Highly saturated random colors often work best in smaller amounts. Softer colors may cover larger surfaces, provided that text and controls remain clearly distinguishable.
9. Add Neutrals and Assign Functional Roles
Your random color needs support from backgrounds, surfaces, text colors and borders. Add a limited neutral foundation rather than surrounding the selected color with several equally strong competitors.
Next, decide what the random color actually does. It might identify primary actions, selected navigation items, chart highlights or decorative illustrations. Do not let it mean “interactive” in one place and “decorative” in another without a clear reason.
Google’s Material Design guidance on color roles demonstrates the value of assigning colors according to purpose rather than treating a palette as an unstructured collection of swatches.
| Role | Suggested responsibility | Question |
|---|---|---|
| Background | Supports the entire page | Does it allow content to remain comfortable to read? |
| Surface | Separates cards and raised areas | Is it visible without creating excessive contrast? |
| Primary | Identifies the main action | Does it attract attention at the correct moment? |
| Text | Carries headings and body content | Is it readable on every assigned background? |
| Border | Defines controls and boundaries | Can users locate fields and components? |
10. Create One Realistic Design Sample
Do not approve the direction from a mood board alone. Produce one small, realistic artifact containing genuine text and functional elements. This could be a landing-page hero, mobile profile, promotional card, event poster or application dashboard.
If your concept needs a social identity, the Instagram Username Generator can help you explore available naming styles for the mock project. Place the selected username inside a realistic profile header or campaign post rather than displaying it as an isolated decoration.
You can also create a functional test with the QR Code Generator. Add a QR code to a poster, business card or packaging concept and see whether the design direction survives a practical requirement. Maintain strong contrast between the QR code and its background, preserve clear surrounding space and scan the final output with more than one device.
Real content exposes weaknesses quickly. A color that looks impressive in a large rectangle may fail when used behind a button label, beside a photograph or inside a small mobile component.
11. Move the Direction Into CSS
When the concept is intended for a website, record the chosen values as CSS custom properties. Use semantic names so another person can understand why each color exists.
:root {
  --color-page: #f7f7f4;
  --color-surface: #ffffff;
  --color-text: #1d1e20;
  --color-text-muted: #63666b;
  --color-primary: #7b4de3;
  --color-on-primary: #ffffff;
  --color-border: #d9d9df;
}
Create hover, pressed and selected states only after testing them inside components. Smashing Magazine’s article about simplifying palettes with CSS color-mix() discusses how contextual variations can be derived from existing theme colors.
Derived values still require visual and accessibility testing. Automatic mixing can create a consistent relationship, but it cannot determine whether every text, icon and background combination is sufficiently clear.
12. Stress-Test and Document the Final Direction
Finish by testing the direction in situations that are less flattering than your original presentation. View it on a small screen, place long text inside the buttons, reduce the quality of the supporting photograph and compare the design in bright and dim environments.
Ask another person what they notice first, what type of project they believe it represents and which elements appear interactive. Do not begin by explaining your intentions. Their unaided interpretation reveals whether the visual system communicates what you planned.
Document the original random color, final color values, project brief, selected adjectives, functional roles, rejected directions and reasons for important changes. This turns a playful exercise into repeatable design evidence.
Finally, make a clear decision: adopt, revise or reject. Rejecting the generated color is acceptable when testing shows that it cannot support the project. The exercise has still succeeded if it helped you examine a new possibility with discipline.
Random Color Design Direction Checklist
- A one-sentence project challenge was written before generating colors.
- A stopping rule prevented endless generation and cherry-picking.
- The original HEX, RGB and HSL values were recorded.
- Lightness, saturation, temperature and visual weight were examined.
- The mood was based on project context rather than one color stereotype.
- A realistic project concept and audience were defined.
- Typography, spacing, shape and imagery support the same direction.
- The amount of primary color was controlled intentionally.
- Neutral colors and clear functional roles were added.
- The direction was tested in at least one realistic design sample.
- Web colors were recorded using understandable semantic CSS names.
- The final direction was stress-tested, documented and reviewed.
Randomness Starts the Conversation—Design Makes the Decision
A random color generator is most useful when it interrupts a familiar pattern. It can expose you to a hue, lightness level or degree of saturation that you would not normally consider. That unexpected result creates the opportunity, but the quality of the outcome depends on everything you do next.
Begin with a clear challenge, limit the number of generated results and investigate the selected color honestly. Study its properties, create a contextual mood, define visual rules, control its proportion and test it in a realistic artifact. The process converts an arbitrary value into a design direction that can be explained rather than merely liked.
Open the Random Color Generator, generate your first result and resist the urge to press the button again. Give the color a project, a purpose and fifteen minutes of serious exploration. You may discover that the direction you would never have chosen is the one that teaches you the most.